So a few weekends ago, Logan and I headed down to College Station to visit the Cochrans. Nicki and I are kindred spirits when it comes to DIY/ Canton/ and giving old stuff a face lift. We went "treasure hunting" on Saturday and I found this adorable and legit cedar chest for a mere $25!!!!
With limited storage in our very old duplex (I mean did ladies not have clothes back then??) we welcomed the opportunity to store our winter sweaters and warm clothes in something cute! The entire thing only took 1 beautiful Saturday afternoon. We did it the Saturday of the St. Patty's parade on Lower Greenville and could hear the craziness from our front porch. I find it hilarious to think if someone had told me I would prefer to stay home and re-finish furniture rather than partake in the Greenville Ave fesitivities- I would have called you CRAZY! Times have changed. My dad told me he prefers the domestic Abby :) He worries less these days.
 |
| Before |
 |
| The inside of the chest |
 |
| My trusty Ryobi helped me sand it down. |
 |
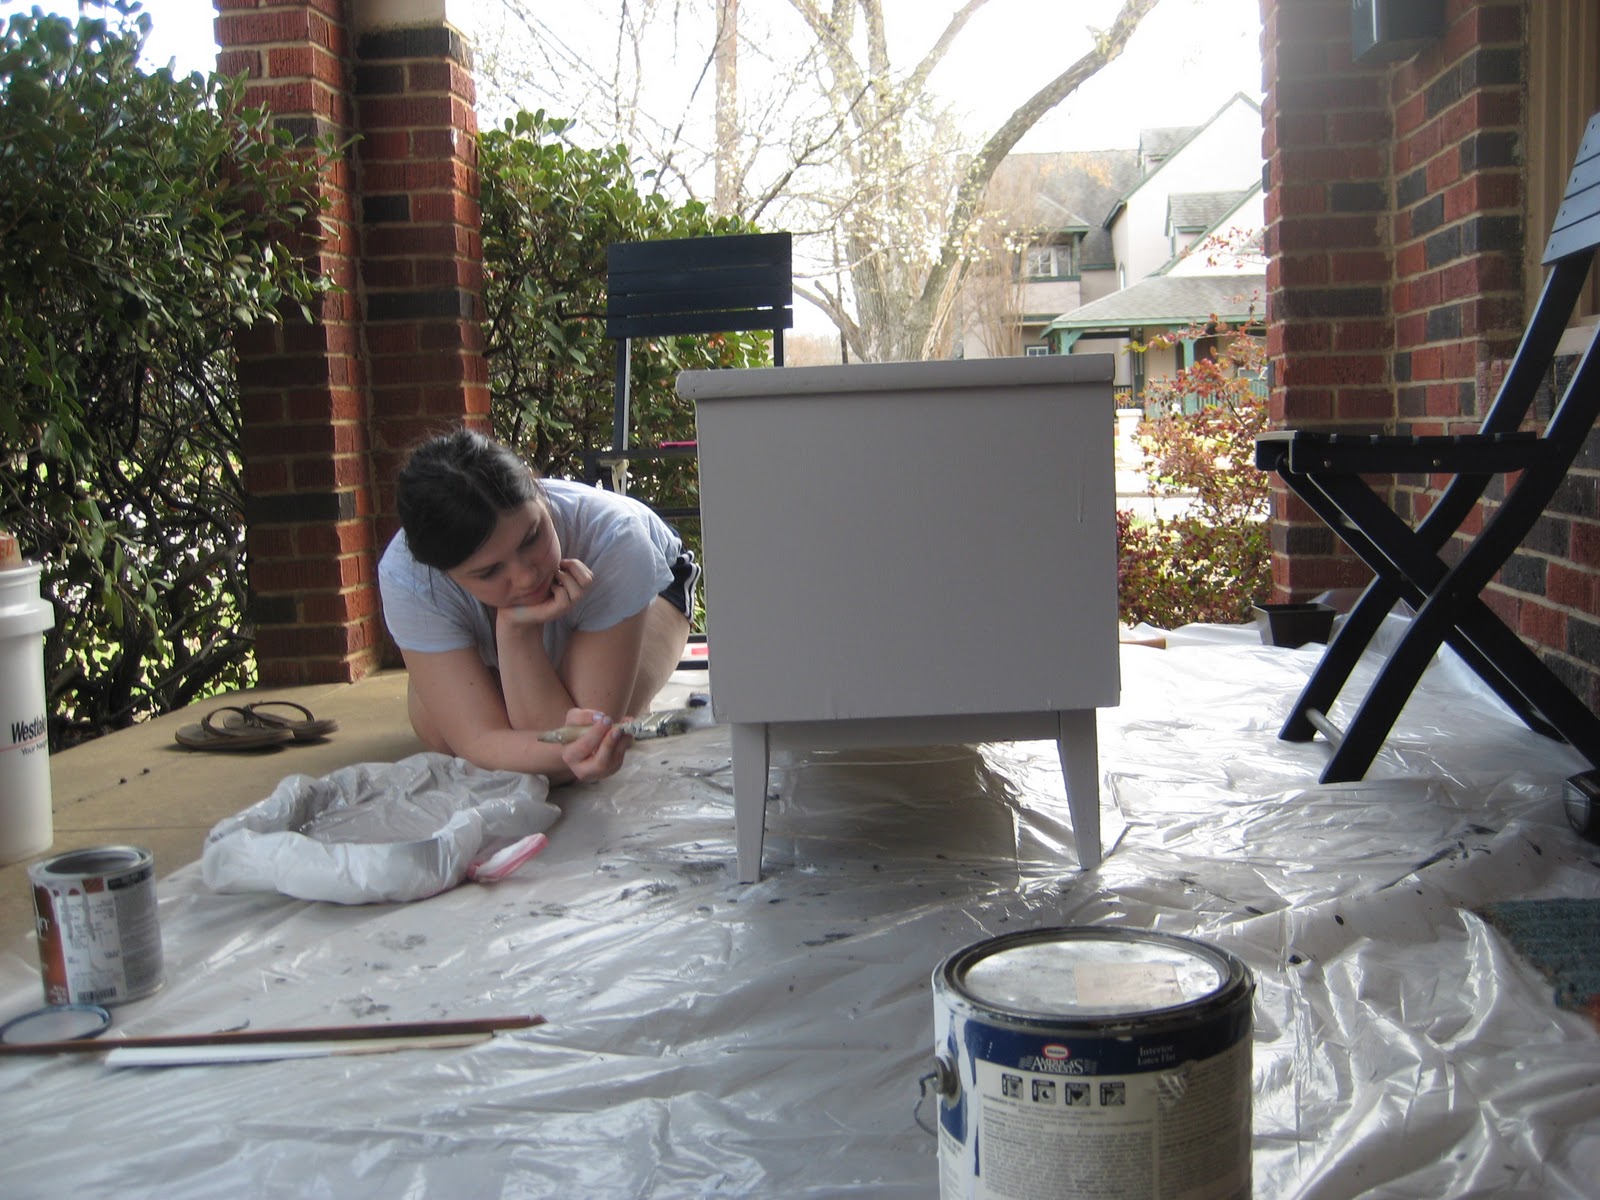
| I did a base coat in white since the wood was not painted. This part didn't have to be perfect since I knew I was going to paint another layer on top in a fun color. |
 |
| We went to Sherwin Williams to pick out the most perfect shade of gray. |
 |
| Logan and I painted 2 coats of the gray on all sides, including the back (even though no one will see it) |
 |
| The weather + our front porch + iTunes + beer = perfect Saturday! |
 |
| My handsome handy man. |
 |
| Its starting to look cuter! |
 |
| Picking out the perfect knobs at Anthropologie. (The biggest expense but totally worth it! They were $6 each) |
 |
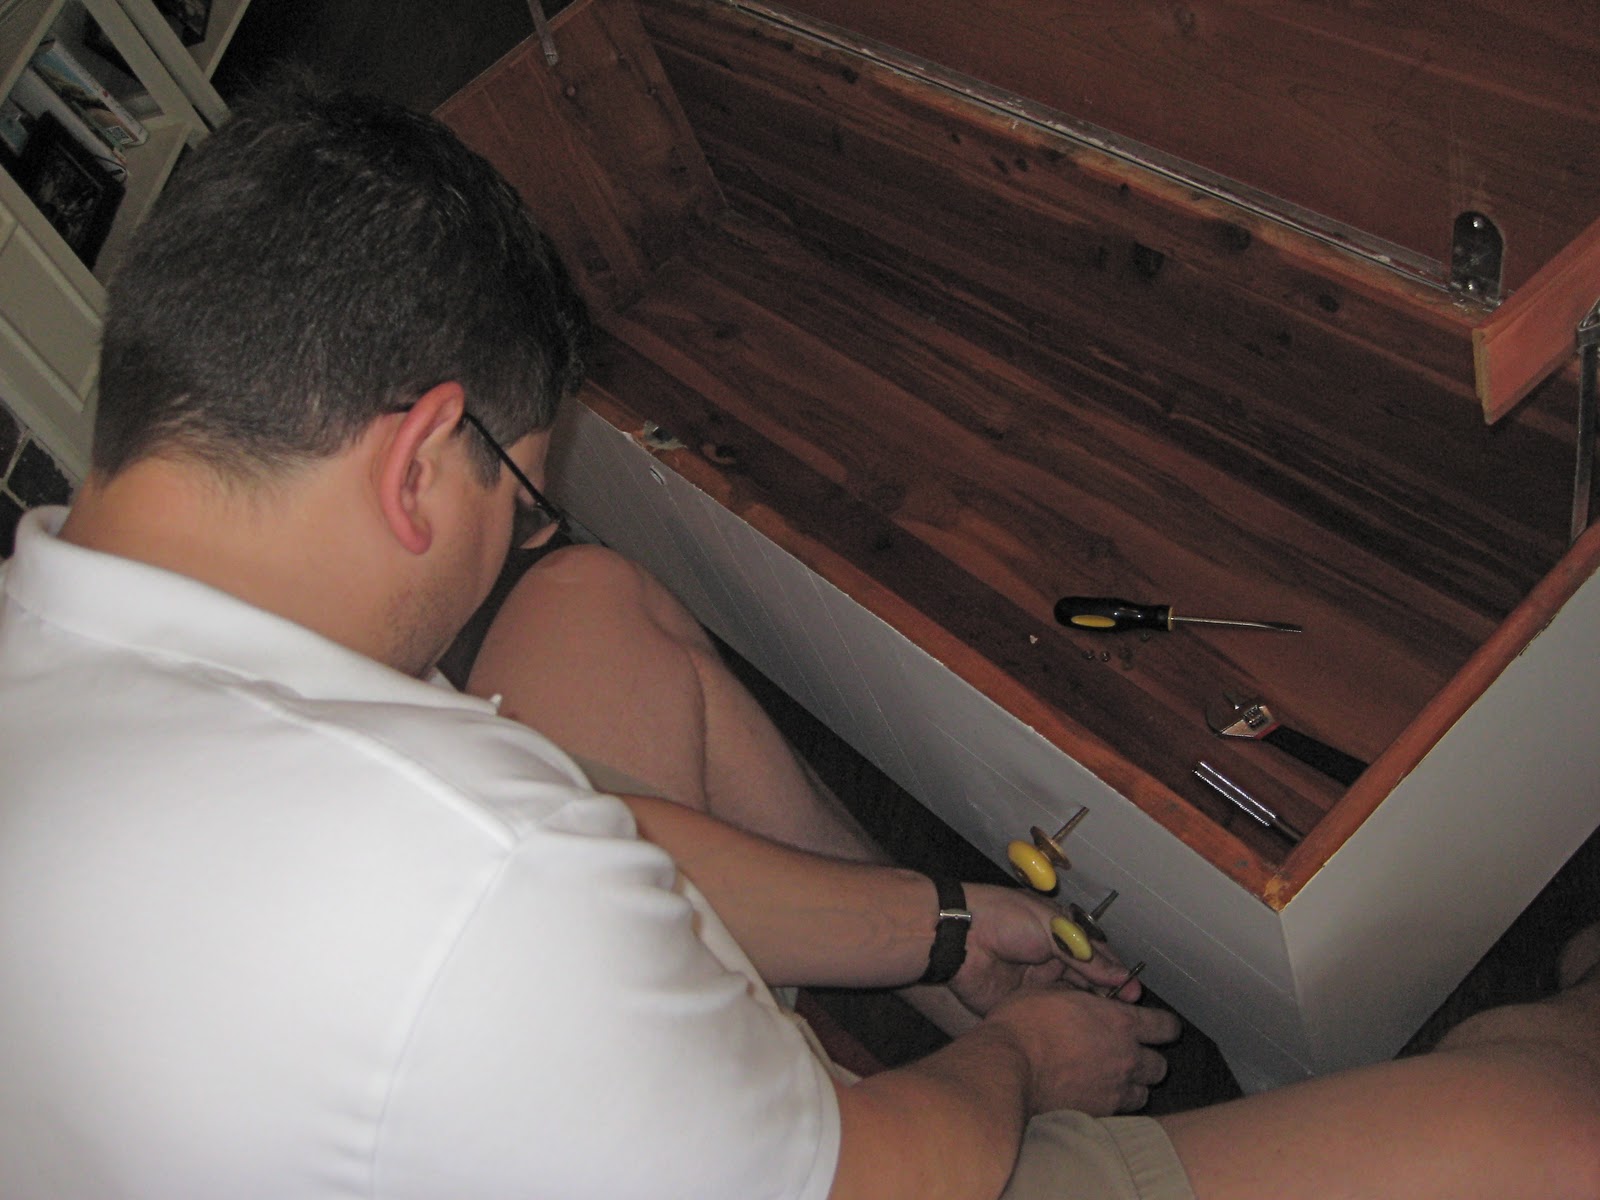
| Logan helped me big time with this- he removed the old knobs and replaced them with the cute ones :) |
 |
| After the paint is 100% dry and you are 100% happy with how it looks, spread 1-2 layers of this wax all over the surface to help secure the paint job. It adds a protective layer so that if something were to spill, it can be easily wiped off! It also gives it a slight shine as well. |
 |
| I just used an old t-shirt to spread it on, but old thin rags or dish towels work best! |
 |
| THE FINISHED PRODUCT! |
 |
| Our room now feels complete! |
 |
| I think the gray and mustard perfectly complement our bedding! |
|
|
We are really happy with how everything turned out! My little $25 treasure probably would have cost a couple hundred dollars if I bought it already refurnished. Instead I did this project (paint, gloss, knobs, etc.) for under $75!


It looks fabulous! Love the way you start and finish something!!
ReplyDeleteso so cute...i heart yellow and gray!!
ReplyDeletenice job abby and logan. and how much fun to say "i did this!"
ReplyDelete